
How to localize a Laravel application (with Locale)
 Ricard
What is Locale
Locale is a platform and web application that facilitates the localization of Laravel projects through a cloud panel that enables your team a visual control of the translations, easy and fast synchronization and collaborative tools. Making the localization and translation experience more agile, enjoyable and powerful.
Why should you use Locale?
As a Laravel developer, you are probably tired of manually updating translation files, or maybe having to put extra effort to keep in sync with your translations team. Localizing a Laravel application with Locale is as easy as performing a one-time setup process, and executing a simple command when a new set of translations is ready to go live.
Getting started with Locale
Let me show you how simple the configuration process really is.
1. Create a new project from your dashboard
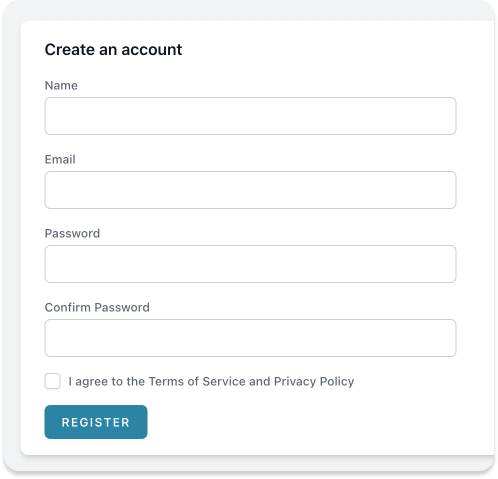
First, you'll need a Locale account. Creating your Locale account is a straightforward process. Just fill the 1-step registration form and name your Workspace. Your free account will be ready.
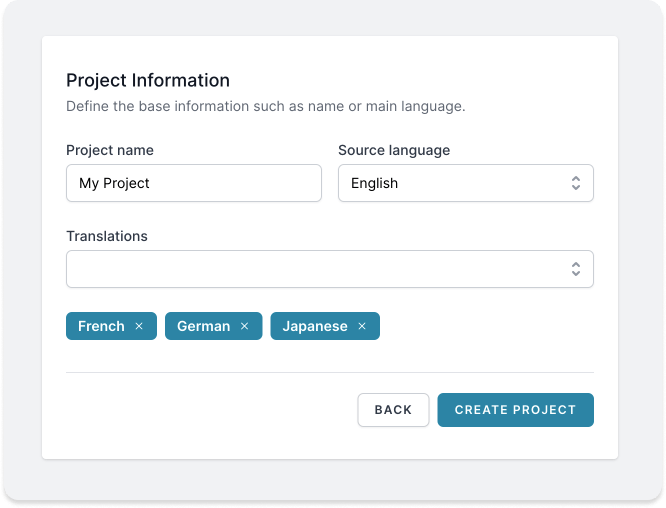
Now, create a new project and give it a name. Define the source locale and add all the languages you want to translate the project to.
2. Install the Laravel package into your application
The final step is to connect your application with your newly created project within Locale in order to sync the translations.
- To get started, require our free package in your composer.json.
composer require uselocale/locale
Don't worry, the package code is public and we do not have access to your project's source code. The only purpose of this package is to read the languages folder in order to interact with our internal API and synchronize the translations file.
- Next, add the project's API token to your .env file in the root folder of your project.
LOCALE_API_TOKEN=your_api_token_here
- Also, add a new entry in your services.php file.
'locale' => [
    'key' => env('LOCALE_API_TOKEN')
],
- And finally, link both parts using the setup command.
php artisan locale:setup
Once this is done, the current page should automatically redirect you to a lisiting of all your projects.
3. Translate keys with the Locale editor
It is time to go to your dashboard and start translating your project. Just find it in your dashboard, click the "View" button and you will be redirected to the translation panel.
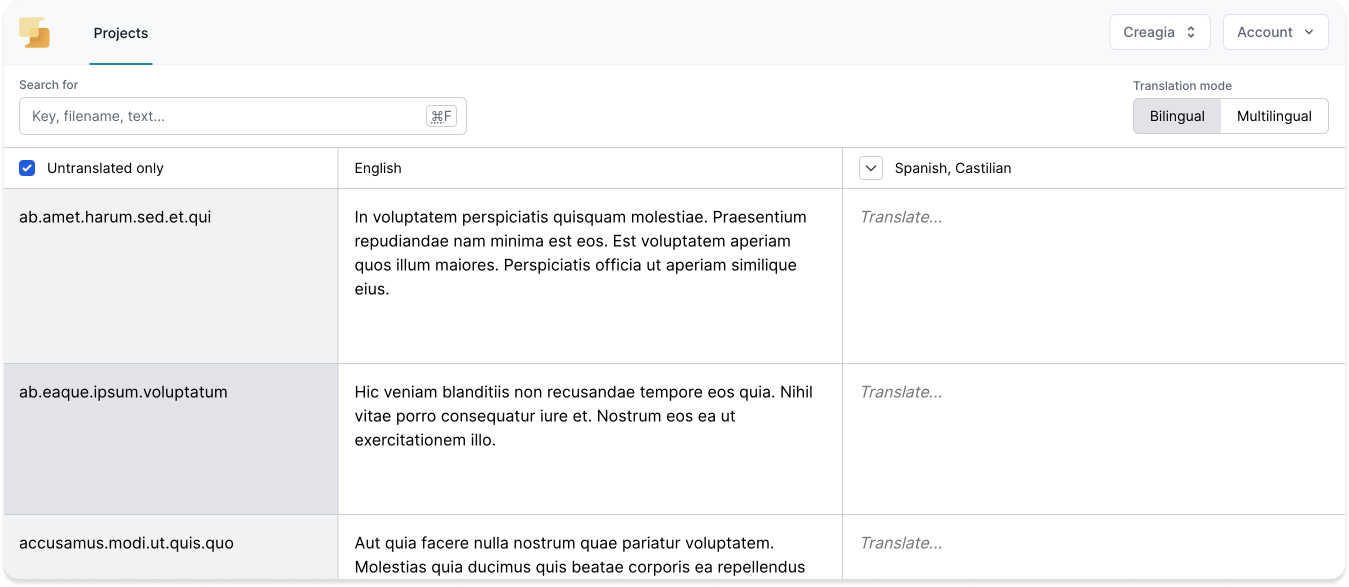
There, you can choose either the bilingual or multilingual translation modes.
With the bilingual translation mode you can get a detailed view source - translation for the desired language. On the other hand, using the mulingual translation mode you can quickly translate a key to all the project's target locales.
Add your translations and then click save or hit Ctrl + S in Windows or Command + S if you are using Mac.
4. Update your application with the new translations
Once the translations have been saved, sync your project with the latest changes using a simple terminal command:
php artisan locale:sync
The command is going to download and apply the new translations in your files inside the lang folder.
The translations are now available to be used in your project. Use any of the available methods in a Laravel project in order to retrieve translations.
// Using helper function
{{ __('file.key') }}

// Using the facade
{{ Lang::get('file.key') }}

// Using Blade directives
@lang('file.key')
Are you a visual learner?
If you got lost at some point or just prefer to watch the process with your own eyes, we have recorded a step-by-step video showing how easy it is to get started with Locale.
The importance of localization
In the current digital and global world, localizing your projects to multiple languages could greatly increase the success of your company. If you want to know more on how to localize your project to other countries and regions, take a look at the article "The importance of localization for your business" we wrote about the subject.
Early bird plan available!
🎁 Get started now and unlock an exclusive, grandfathered plan for early adopters.